

Last month, while scrolling through Facebook, I came across a post from a friend—an equestrian and performer—who had just wrapped up her annual creative photo shoot with her equine partner. She shared the results, but it was clear she wasn’t completely satisfied with the final outcome.
Here’s the thing: she had a fantastic concept and a solid base image to work from. The potential was absolutely there. She poured her heart into the final product, but the image needed a more practiced touch to truly bring her vision to life.
That’s where I stepped in.
Editing is a tricky mistress—it can be deceptively simple or frustratingly complex. Talented photographers and digital artists often make it look effortless, but the truth is, great editing takes time, experience, and a bit of finesse.
I loved her concept and instantly saw the creative direction she was aiming for. So I took her image and applied the edits needed to help realize her vision. Below, you’ll find a rough video Timelapse of my process. I’ll apologize in advance—it’s a bit shaky, there is a finger or two, as I was filming with one hand and editing with the other (a risky and tricky combo!).
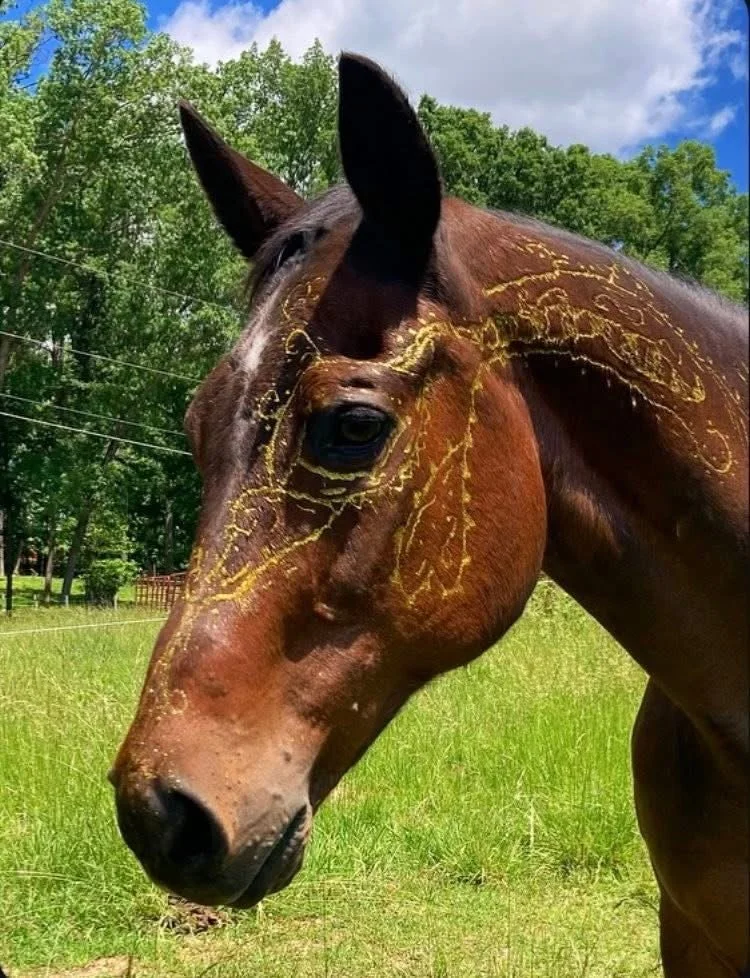
Before
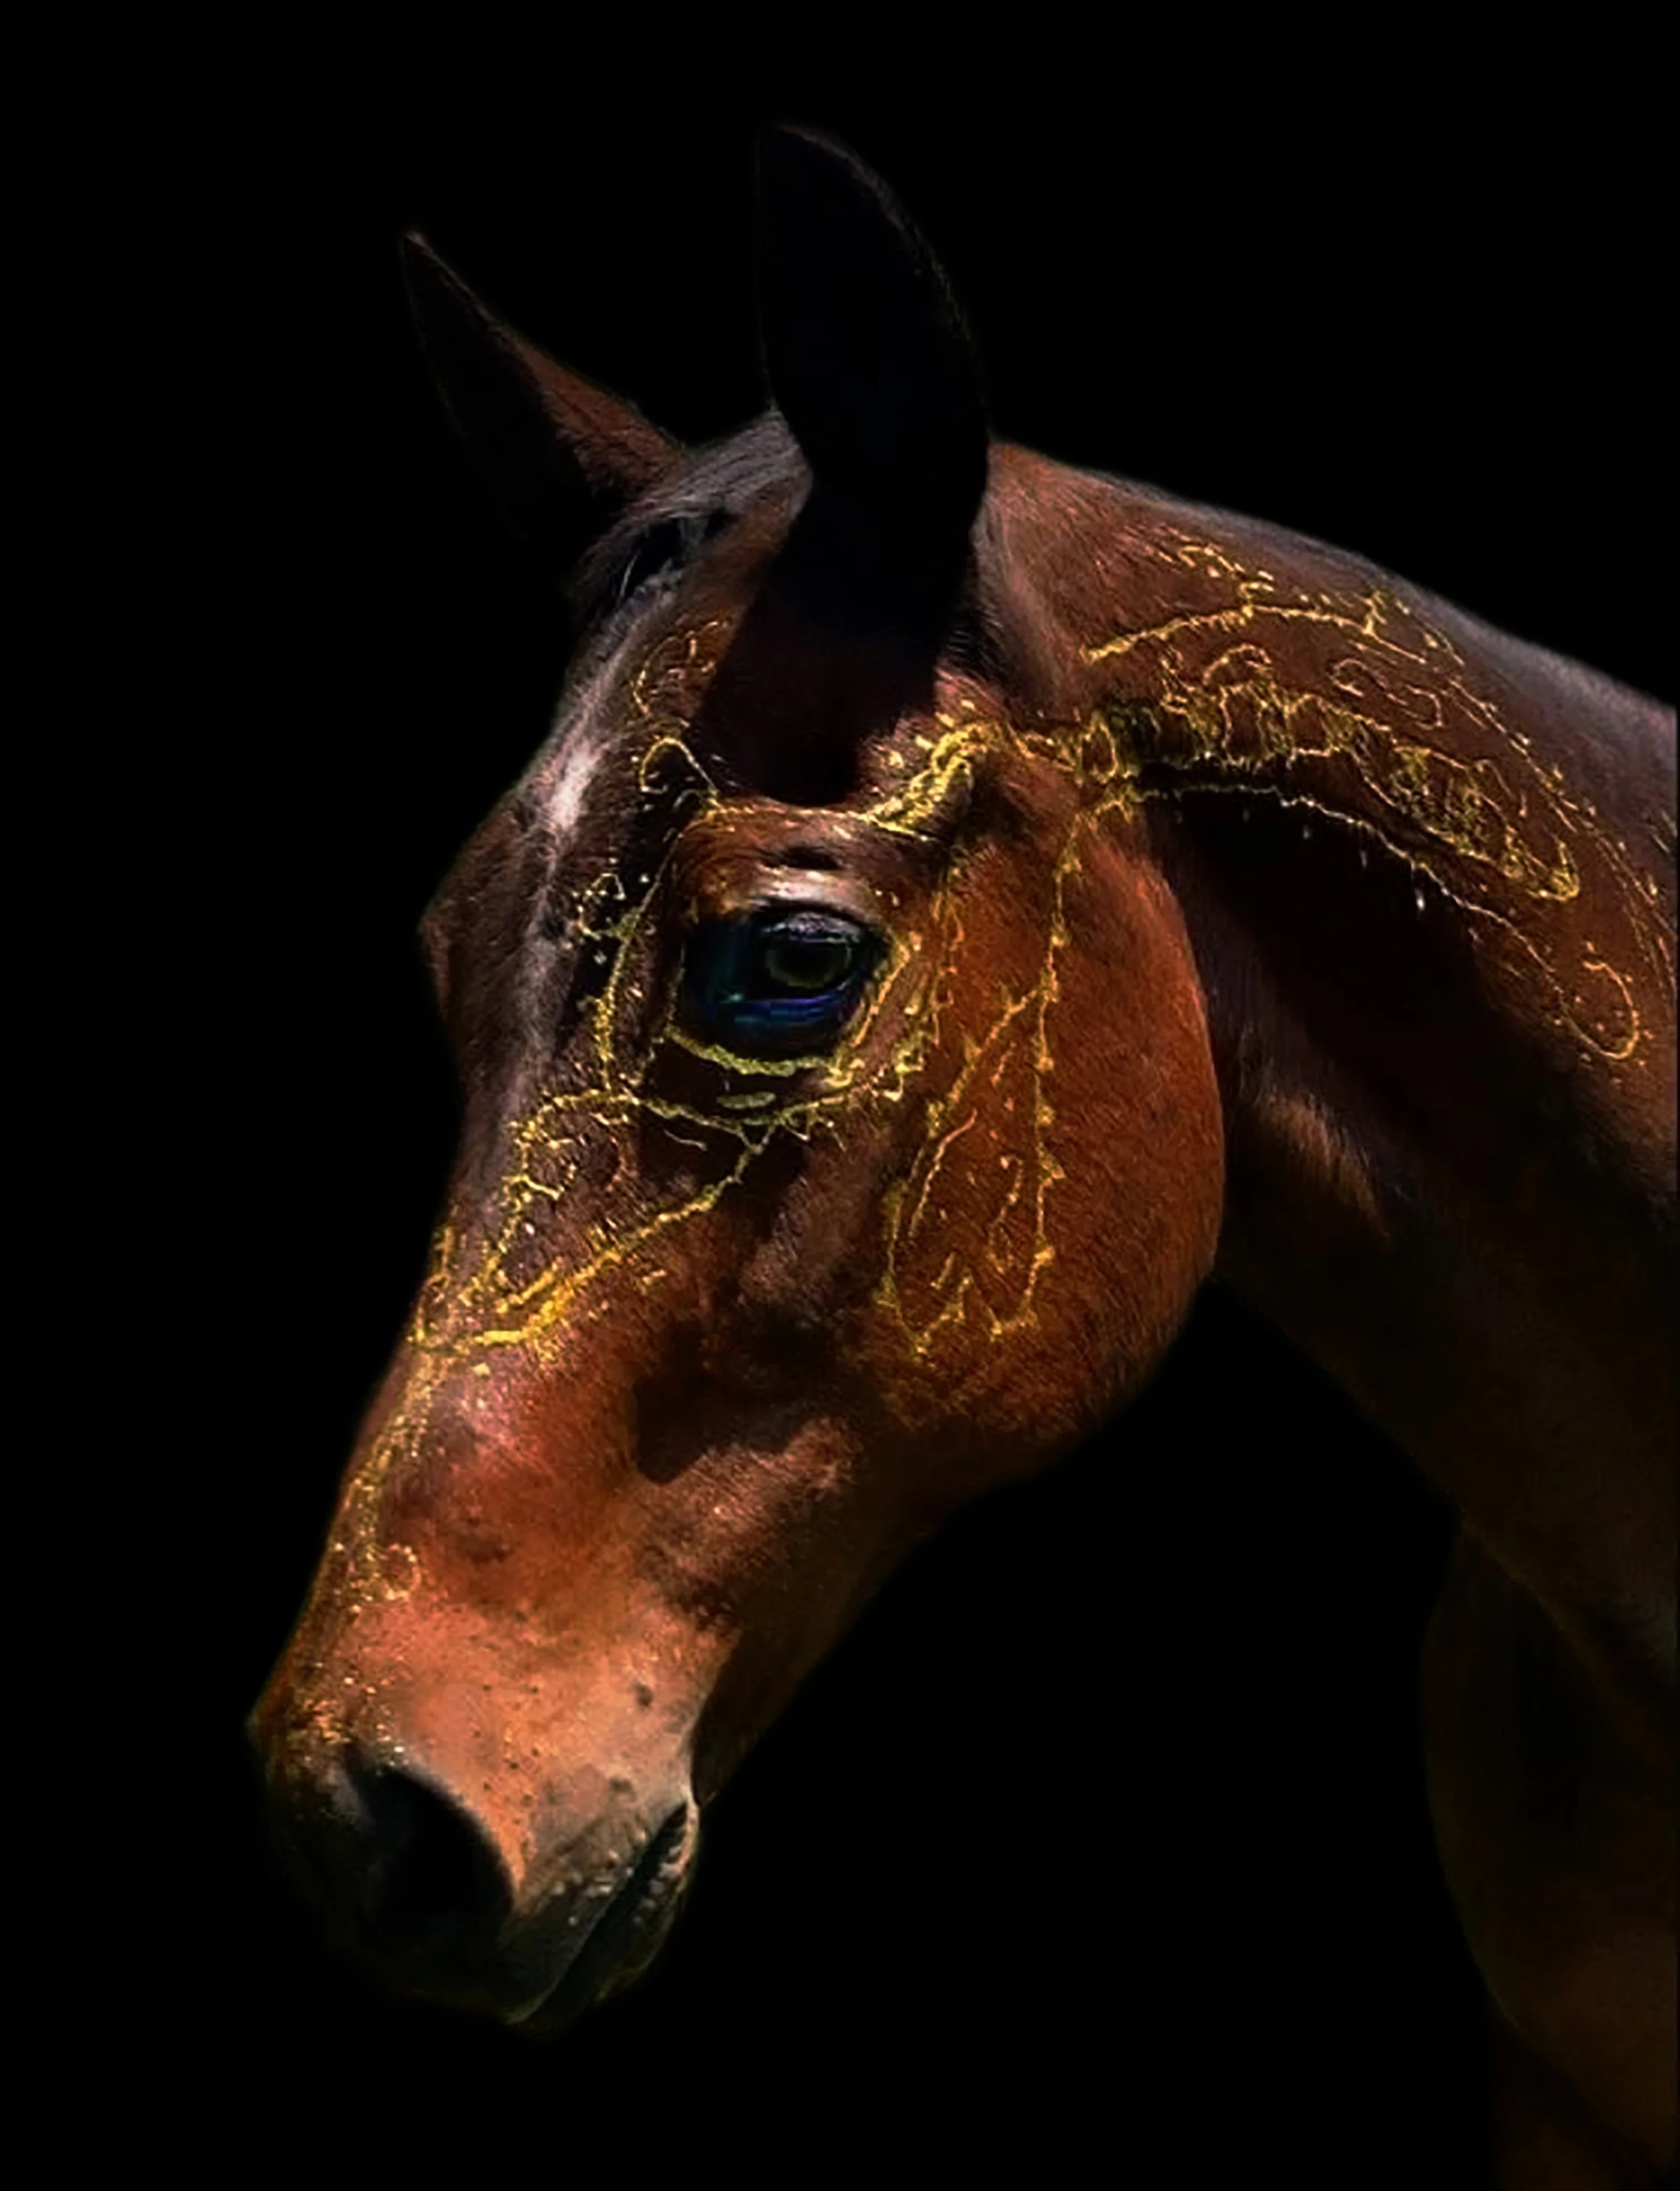
After
Let me know your thoughts on the final edit in the comments! And stay tuned: I’m working on a members-only area where I’ll be sharing in-depth how-to tutorials, including one that breaks down edits like this step by step.